Skip to content

Tag: sound

Mortal Kombat Arcade Cabinet from Arcade1UP – Part 4: Sound and lights

Check out the all parts of the Mortal Kombat Arcade Cabinet from Arcade1UP serie:

Sound

The great ETA PRIME’s ‪Arcade1UP Raspberry Pi Install Tutorial – RetroPie in an Arcade1UP video tutorial uses an amplifier and speakers. That’s a great solution and probably what you need. As I said before a lot of the decisions I’ve made were based of things I already had around at home.

For instance, I had an Cyber Acoustics CA-3602FFP 2.1 Speaker Sound System with Subwoofer and Control Pod around without use after I upgraded some equipment100. I’m not going to disagree with anyone who says this is a total overkill for this project. This has a lot of power and a subwoofer. It greatly exceeds the sound needs for old arcades games. However, it was literally accumulating dust in a corner.

Cyber Acoustics CA-3602FFP 2.1 Speaker Sound System with Subwoofer and Control Pod

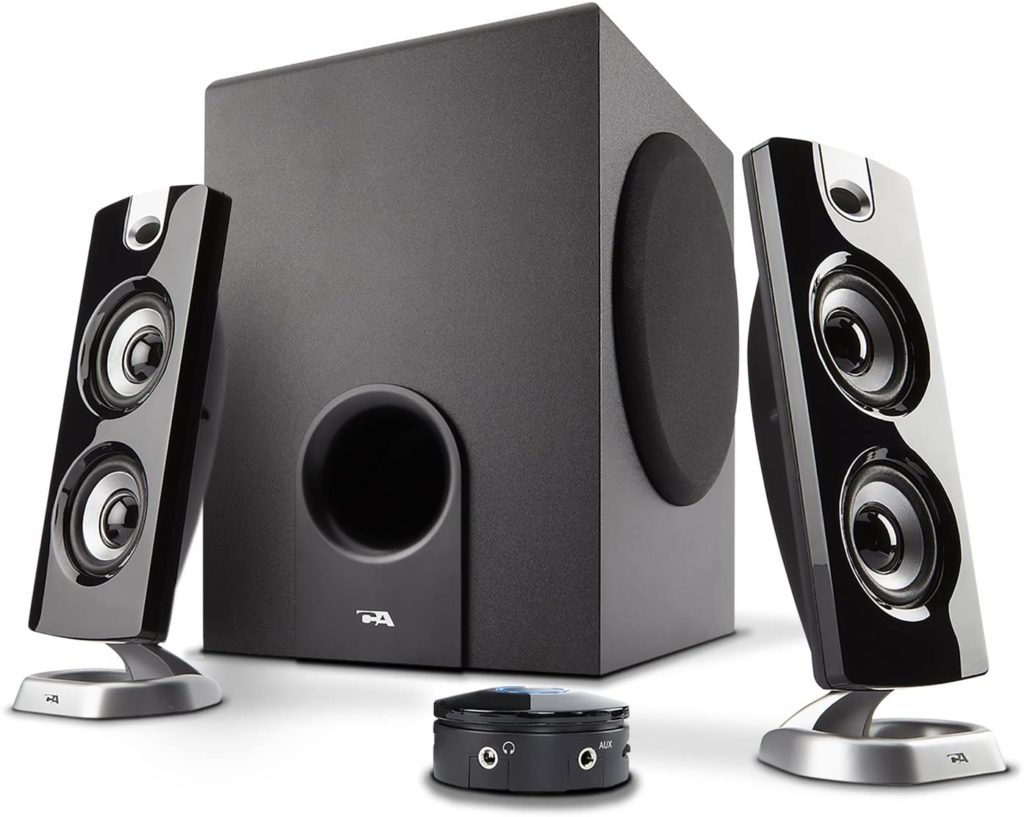
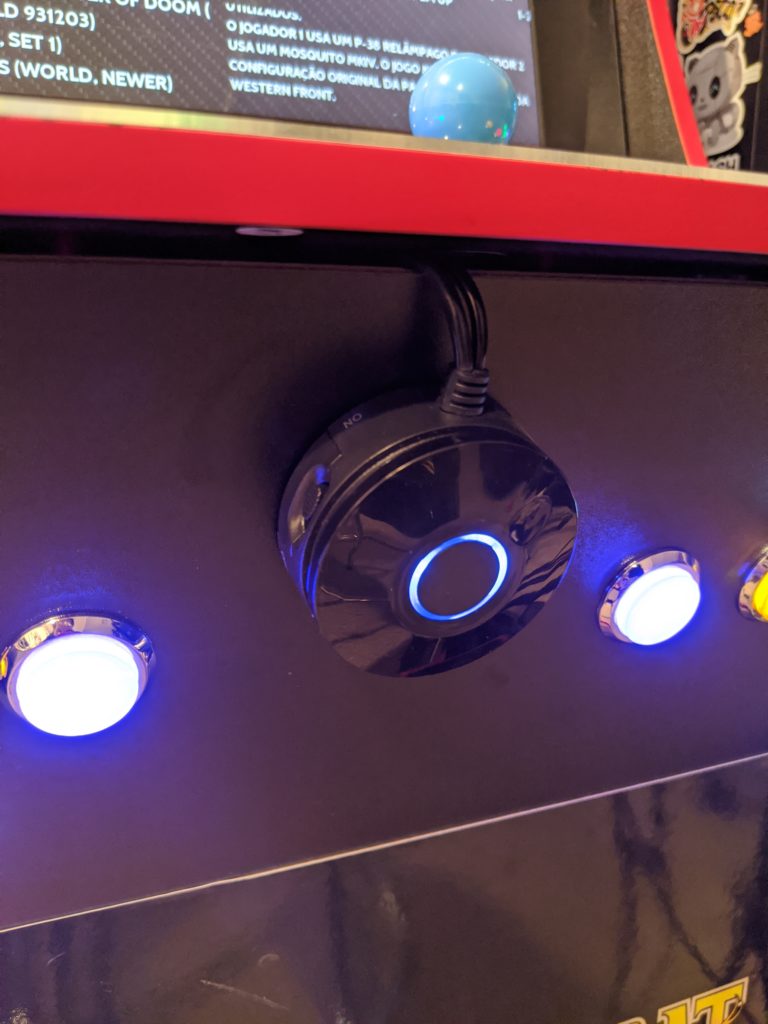
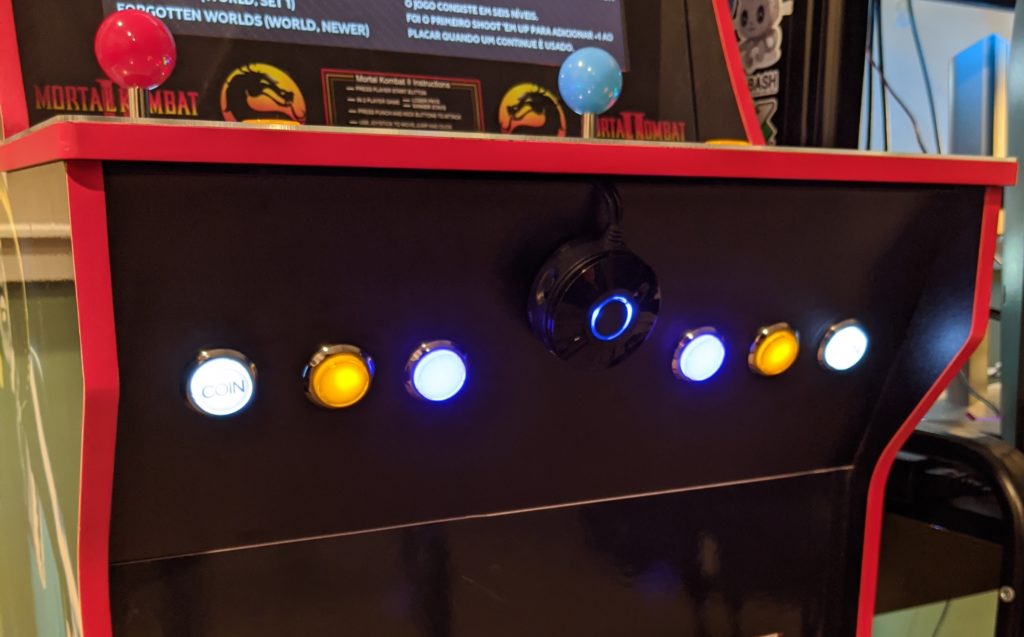
This thing also have this little control pod that is just perfect for this project. It controls the volume using a knob. I absolutely love control knobs. I could write a whole post about knobs. It has a round blue led which goes well with the whole arcade theme. On top of all that, the control pod also has a control for bass, an on/off switch, an auxiliary input and a phone output.

Volume control

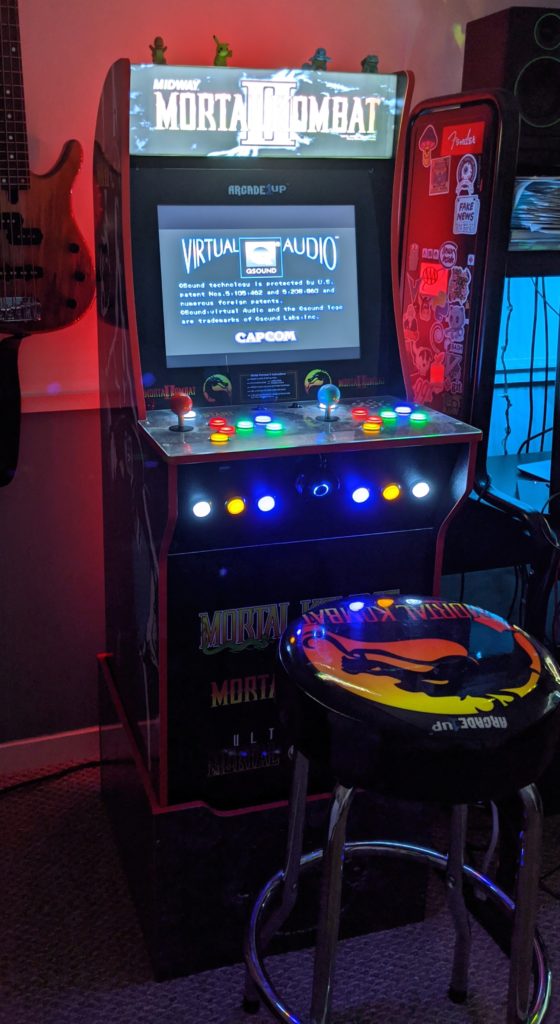
Because the wires fit in the gap between the panels no drilling was necessary. Inside the cabinet I just put the subwoofer an the two speakers. I used a double-sided mounting tape to put it in place.

The little blue circle light.

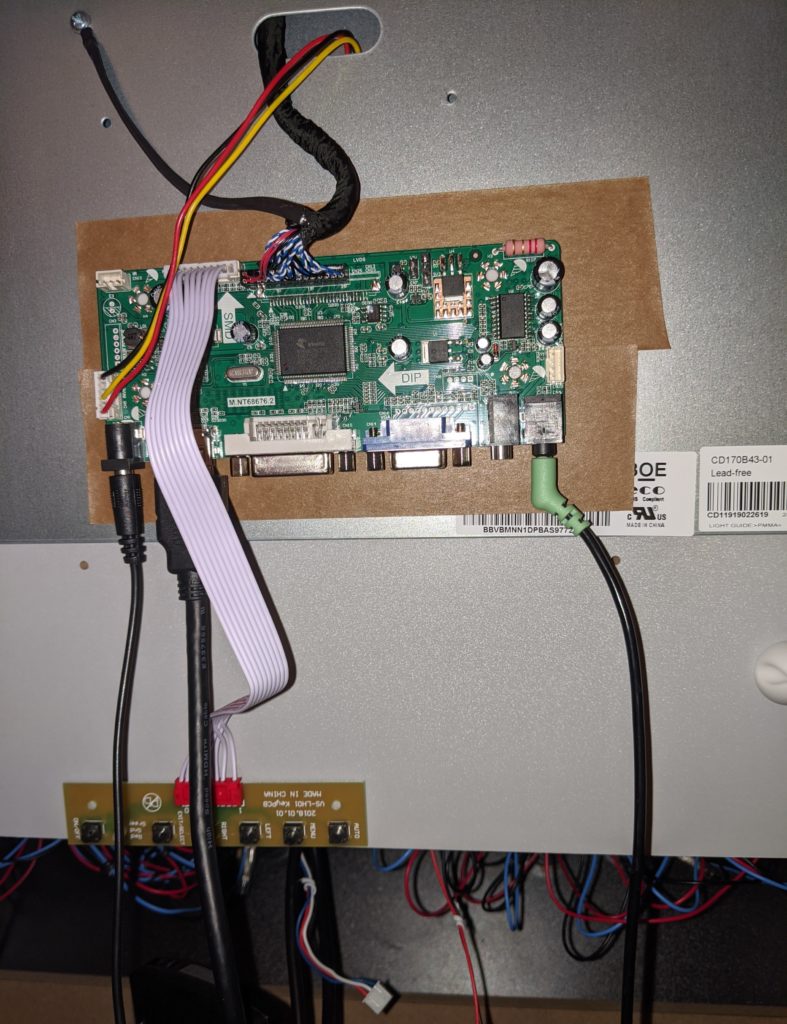
For the sound input I used the sound output from the control board. That is already converting the HDMI sound output. Another solution would be to plug it directly into the Raspberry PI and configure it to output the sound there instead of sending it via HDMI.

Control board to speakers

Lights

The last thing I added was just some LED strip lights in the back of the machine. It’s just some led multicolor strip lights that I bough a while ago for around 5 bucks. I just let it set to red because it goes well with the vinyl strip it came with.

Really ties the room together.

That’s probably the simplest and cheapest of all the modifications but really adds some ambiance around the cabinet.

Because the lights and everything else are in the same power strip that is behind the same Amazon Smart Plug when I say “alexa turn the arcade on” everything lights up with a lot of colors.

Conclusion

This has been a long and fun project. I have been incrementallychanging parts and adding modifications. It’s slow and it’s not a single weekend project. It’s good to spend time on each iteration and getting a felling of what needs to be improved. There is still some room for a few more lights and maybe a beer holder. Other than that the next changes should be on software.

Morse Code Translator with Arduino

You write in your computer, sends a message thought USB and Arduino translates it into a Morse code.

Just a Arduino board with a buzzer connected at the digital output 12 (one wire in the ground and the other in the 12).

Arduino

I tried to make the code as general as possible so you can easily adapt it for anthers ways of transmitting a Morse code. To do that you just need to rewrite a few functions.

                                                  +-------------------+
                                                  | 3) Interpretation |
                                                  +-------------------+
                                                  |   2) Translation  |
+-------------------+                             +-------------------+
|     Computer      |<========USB (Serial)=======>|     1) Reading    |
+-------------------+                             +-------------------+

  1. Reads a character from Serial. Main function loop().
  2. Translate a ascii char into a Morse code using a reference table. A letter ‘K’ becomes a string word “-.-“. Function say_char().
  3. Interpret the Morse word as light and sound. Mostly at function say_morse_word(). The Interpretation needs 5 functions to say all Morse words, dot(), dash(), shortgap(), mediumgap() and intragap().

For a more details on Morse code I strongly recommend the English Wikipedia article on it.

int led = 13;                   // LED connected to digital pin 13
int buzzer = 12;                // buzzer connected to digital pin 12
int unit = 50;                  // duration of a pulse

char * morsecode[] = {
    "-----",  // 0
    ".----",  // 1
    "..---",  // 2
    "...--",  // 3
    "....-",  // 4
    ".....",  // 5
    "-....",  // 6 
    "--...",  // 7
    "---..",  // 8
    "----.",  // 9
    "---...", // :
    "-.-.-.", // ;
    "",       // < (there's no morse for this simbol)
    "-...-",  // =
    "",       // > (there's no morse for this simbol)
    "..--..", // ?
    ".--._.", // @
    ".-",     // A
    "-...",   // B
    "-.-.",   // C
    "-..",    // D
    ".",      // E
    "..-.",   // F
    "--.",    // G
    "....",   // H
    "..",     // I
    ".---",   // J
    "-.-",    // K
    ".-..",   // L
    "--",     // M
    "-.",     // N
    "---",    // O
    ".--.",   // P
    "--.-",   // Q
    ".-.",    // R
    "...",    // S
    "-",      // T
    "..-",    // U
    "...-",   // V
    ".--",    // W
    "-..-",   // X
    "-.--",   // Y
    "--.."    // Z
};

void setup() {
  pinMode(led, OUTPUT);
  pinMode(buzzer, OUTPUT);
  Serial.begin(9600);
}

void say_morse_word(char * msg){
  int index = 0;
  while(msg[index]!='\0'){
    // say a dash
    if(msg[index]=='-'){
      dash();
    }
    // say a dot
    if(msg[index]=='.'){
      dot();
    }
    // gap beetween simbols
    intragap();
    index++;
  }
}

// beep
void beep(int time){
  int i;
  int t = 100; // period of the wav. bigger means lower pitch.
  int beepduration = (int)((float)time/t*1800);
  digitalWrite(led, HIGH);
  for(i=0;i='0')&&(letter<='Z')&&(letter!='<')&&(letter!='>')){
    Serial.print(morsecode[letter-'0']);
    Serial.print(' ');
    say_morse_word(morsecode[letter-'0']);
    shortgap();
  } else {
    if(letter==' '){
      Serial.print(" \\ ");
      mediumgap();
    }else{
      Serial.print("X");
    }
  }
}

void loop(){
  if(Serial.available()){
    say_char((char)Serial.read());
  }
}

Additionally you can put another function to say entire strings, like say_string(“HELLO WORLD”)

void say_string(char * asciimsg){
  int index = 0;
  char charac;  
  charac = asciimsg[index];
  while(charac!='\0'){
    say_char(morsecode[charac-'0']);
    Serial.println(morsecode[charac-'0']);
    charac = asciimsg[++index];
    shortgap();
  }
}

You can use the Arduino IDE itself or any other program that talks with the serial port USB.

arduino interface